A pedicure is far more than just a beauty treatment, it is an enjoyable act of self-care which also soothes your feet, moistens your skin and leaves your nails looking neat and shining. You can always go to a salon, but a better way would be to self-indulge in a nice pedicure at your own convenience.
A pedicure kit home experience gives you the right salon-quality treatment at home, without needing you to leave your place. This easy-to-follow step-by-step guide is here to let you try getting a nice at-home pedicure for yourself. It’s an ultimate tool that you need to achieve beautiful, smooth, and perfectly polished feet.
Here is what you should do to have great at-home pedicure experience.
- Gather Your Supplies
Before you begin your at home pedicure, gather all the necessary tools and products. Here is a list of what you might need for a flawless at-home pedicure:
- Nail polish remover – to clean off any old nail polish.
- Nail clippers – to trim nails to the desired length.
- Nail file – to shape the nails.
- Cuticle pusher – to push back the cuticles for a clean nail edge.
- Foot soak or a large bowl of warm water – for softening your feet.
- Epsom salts or essential oils – optional, but they can make the foot soak more relaxing.
- Exfoliating scrub – to slough away dead skin.
- Pumice stone – for rough patches and calluses.
- Moisturizing foot cream – to hydrate your feet.
- Cotton balls or pads – to apply remover or nail polish.
- Base coat, nail polish color, and topcoat – for the perfect nail finish.
- Towel – to dry your feet after soaking and scrubbing.
- Cuticle oil – to keep your cuticles moisturized.
Having everything ready means you will not have to stop in the middle of the process to look for something. However, you might not need to gather so many supplies because a pedicure kit home offers you a wide range of supplies you need, all in one place!
- Remove Old Nail Polish
Clean the old polish with nail polish remover and cotton pads or balls first. Even if there is no visible polish, it is important to remove any oils, lotions, or dirt from your toenails. The new polish will last longer and adhere better if your toenails are cleaned properly.
- Soak Your Feet
The next step is soaking your feet. Fill a basin or tub with warm water to start the soaking process. In case you want to have a more luxurious experience, you can put a bit of Epsom salt in the water. This way, you shall be able to get rid of aches as well. Essential oils such as lavender, peppermint, and tea tree oil are the perfect choice to make your foot soaking session even more enjoyable. Not only that, but they will also give your feet the comfort they need with their mood-enhancing and anti-inflammatory properties.
Soak your feet in warm water for 10-15 minutes until the skin and cuticles become soft. Soaking your feet can help unwind your muscles and your feet to stay relaxed. Use this time to calm down and find your inner peace while you are soaking your feet.
- Trim and Shape Your Nails
After soaking, wipe your feet with a towel and prepare for trimming and shaping your toe nails. You should avoid cutting your nails close to the skin, which can then develop into painful irritations like ingrown nails. It is better for you to cut your own nails straight across, using clippers for the same effect but lesser risk to the skin.
As soon as your nails are trimmed, use a nail file to level down the high areas and shape your nails to the chosen form. Take care not to file in an aggressive downwards or upwards movement because it may cause a crooked nail. For a clean and neat appearance, avoid filing too aggressively, as this can cause your nails to split or break.
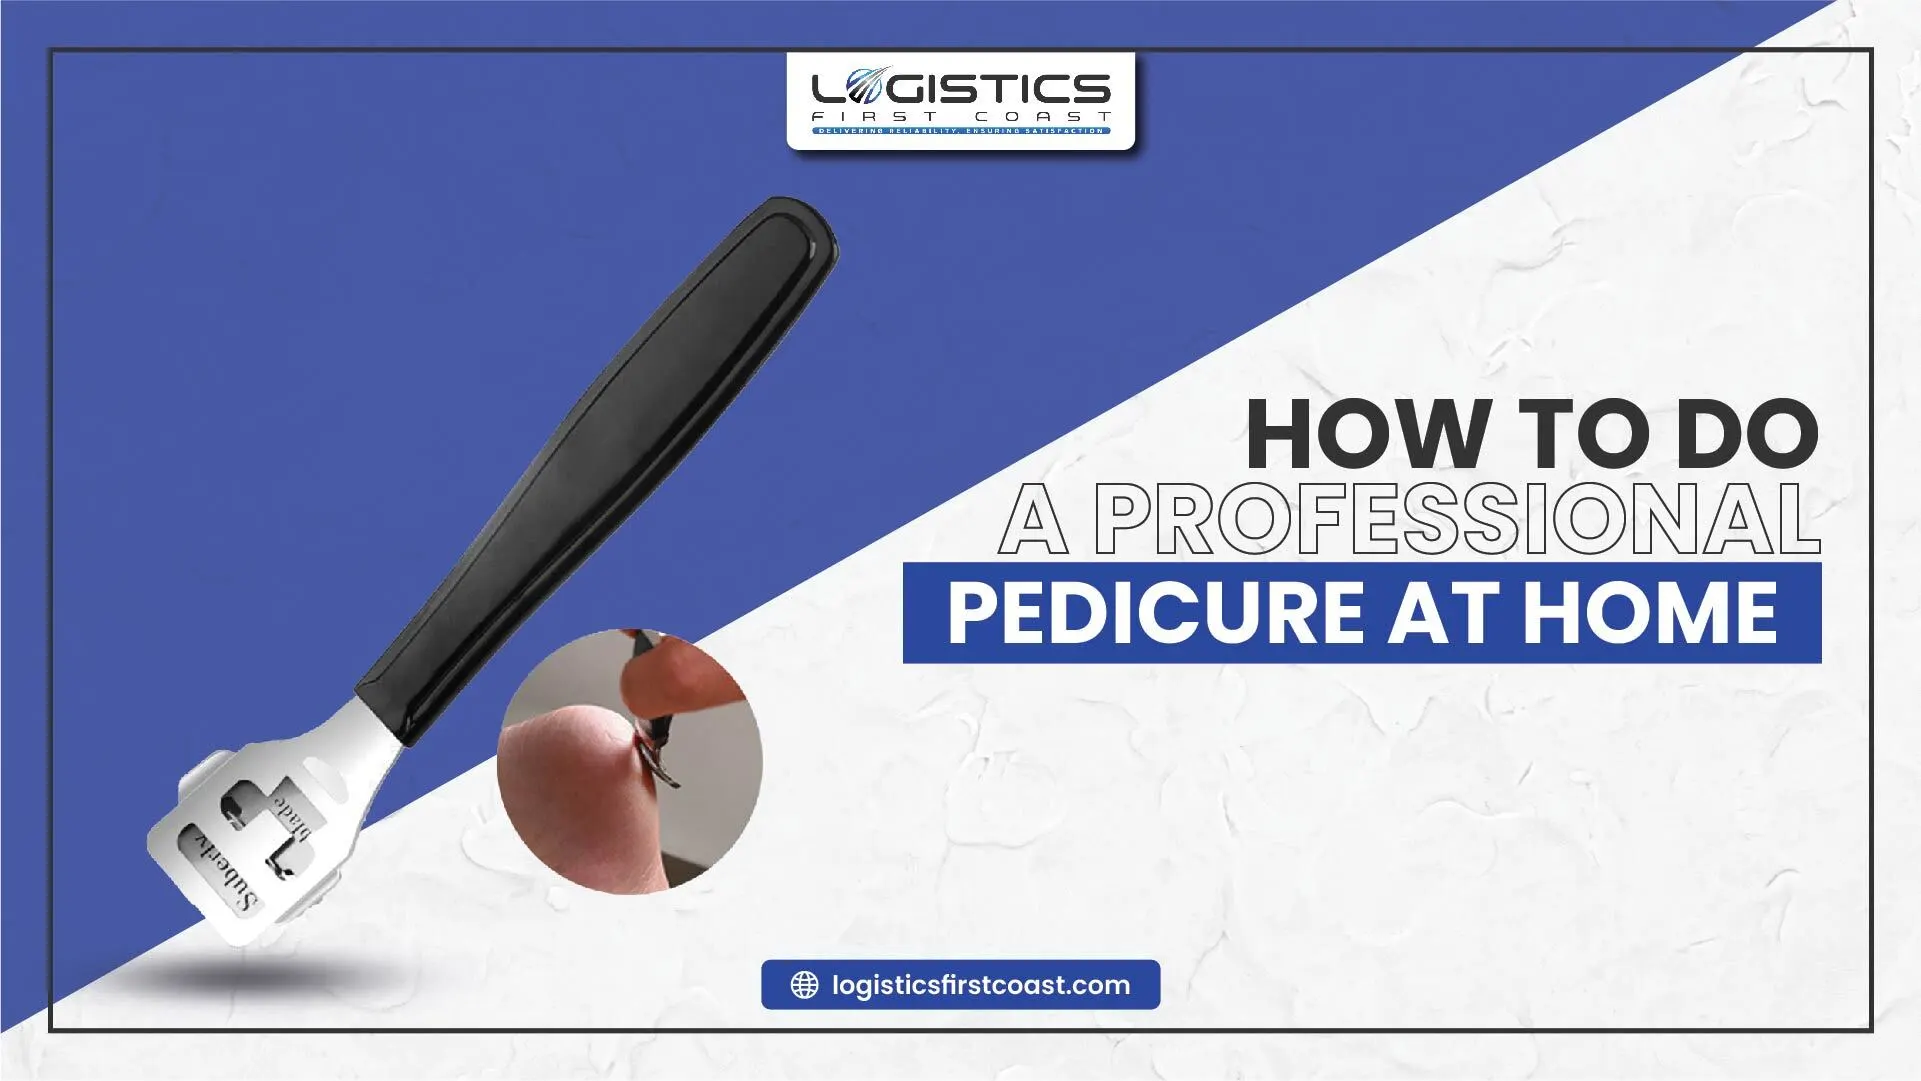
- Push Back Your Cuticles
After you have shaped your nails, your cuticles come next. The cuticle is very sensitive, so you should be careful not to hurt it when pushing it back. A cuticle pusher, a simple instrument from the pedicure kit home, to move them closer to the nail plate with no cutting can be used. For best results, apply a small amount of cuticle cream or cuticle oil to soften the skin. Let it sit for a minute before using the pusher.
Push gently with a cuticle pusher, but not too much. With this, your nail will have no rough edges and the overall look for your pedicure will be greatly improved. Apart from that, you can apply a cuticle remover (a liquid product) to the skin to rub it and make it easier to push it back.
- Exfoliate Your Feet
One of the most important steps of a pedicure is called exfoliation. It is the removal of the dead skin and the smoothing of rough patches. The exfoliation treatment will enhance the reaction and the efficiency of the other pedicure steps. There are several options for exfoliating your feet:
Exfoliating scrub
To start with, apply a generous amount of foot scrub to your feet, so it covers heels, balls of the feet, and rough spots if you have them. Then, rub the scrub in a round movement to help get rid of the dead layer of your skin. This helps to revitalize tired feet and smooth out dry areas.
Pumice stone
For stubborn calluses or rough patches, you can easily get rid of them by using a pumice stone found in your pedicure kit home to smooth the skin. Carefully do the procedure, taking care not to over-exfoliate or scrub too hard, as this can be irritating for your skin. Just a gentle touch is enough.
Once you finish exfoliating, wash your feet in warm water and then dry them with a towel. You are going to notice right away how much smoother and a lot softer your feet are!
- Moisturize Your Feet
You can keep your feet hydrated and soft by applying a thick layer of moisturizing foot cream. Foot creams often contain richer, more intense ingredients to tackle dry skin and cracked heels. Massage the cream into your feet and ankles, paying extra attention to your heels, which tend to get drier than other parts of your feet.
In case you want to take it a bit further, slip your feet into soft cotton socks right after applying a moisturizer and keep them on for 20-30 minutes to allow the cream to deeply penetrate the skin. This will bring the necessary moisture for softness to the skin. This will help lock in the moisture for extra softness.
- Buff Your Nails
Next, let’s learn how to give your toenails a shiny and smooth look. Use a buffing block to gently smoothen the nail surface. During this step, any of your ridges will be smoothed over and any other imperfections will vanish, creating a texture that is truly reflective and perfect for polish application. However, over-buffing should be avoided as it is quite dangerous for your nails in the long run.
Buffing the nails before polishing is another key to make the color go on more evenly, providing you with a smooth and uniform look.
- Apply Nail Polish
Now it is time to add some color to your toenails. This is the fun part, so get creative with your favorite shades. Here is how to apply nail polish like a pro:
Start with a base coat. This acts as a primer for your nails, preventing staining and helping the color adhere better. Apply a thin layer and let it dry for a minute or two.
Select a nail polish color that reflects how you feel. Use a very lightly even layer of your favorite nail polish to cover your nails. Start at the center and move on to the outer edge. First coat dries in two minutes, then add a second coat if necessary for full coverage.
Apply a topcoat once the color has dried. This is to make sure the color is sealed, and your nails are left with a glossy, smooth finish. It also keeps you from chipping and makes your pedicure last for a longer time.
- Let Your Nails Dry
Keep in mind the time it takes to dry your nails! Take time to let your nails dry, avoiding ruining the polish. If you do not have much time to spread out, you can spray with quick-dry spray or use nail drying drops. Allow the nail polish to air-dry for at least 10-15 minutes before you touch anything else.
For an extra level of care, do not walk around or wear shoes until your nails are entirely dry. If possible, go barefoot or put on flip-flops so as not to ruin your fresh nail polish.
- Do the Final Touches…
Once your nails are dry, you can add cuticle oil around your nail beds. It makes the cuticles look fresh and moisturized, which gives your nails a nice, clean look. You may also rub the oil into the skin around the nail and the edges of the nails, preventing them from becoming dry.
Tips for a Long-Lasting Pedicure
To make your pedicure last longer, follow these tips:
- Avoid water for at least 1-2 hours after applying polish to allow it to fully set.
- Wear open-toe shoes while your nails dry to avoid smudging.
- Moisturize regularly: Keep your feet soft by applying foot cream every day.
- Use quality nail polish: Invest in a good brand to make sure of long-lasting color.
- Touch up your polish: If chips appear, quickly touch them up to keep your pedicure looking fresh.
With a little time, effort, and a few tools, you will be able to enjoy a high-quality pedicure in the comfortable environment of your own home.
The above pedicure treatment can give your feet the best spa-like treatment any time you want.
You can always use a pedicure kit to make your at-home pampering session convenience and enjoyable!